
1탄 github blog 생성 보러가기
https://skylarcoding.tistory.com/139
[MAC 개발 환경설정] github.io 깃허브 블로그 1탄. Ruby 설치
깃허브 블로그를 만들기 위해서 필요한 것. Ruby Jekyll (Jekyll 테마를 쓸 거면 필요) Visual Studio Code 우선 맥북에는 기본적으로 Ruby가 설치되어있다. 이거 몰라서 이것저것 다 시도해보느라 오래걸렸
skylarcoding.tistory.com
Jekyll 테마 적용하기
Ruby 와 Jekyll이 설치되어 있지 않으면 위의 1탄을 참고해 설치해야한다.
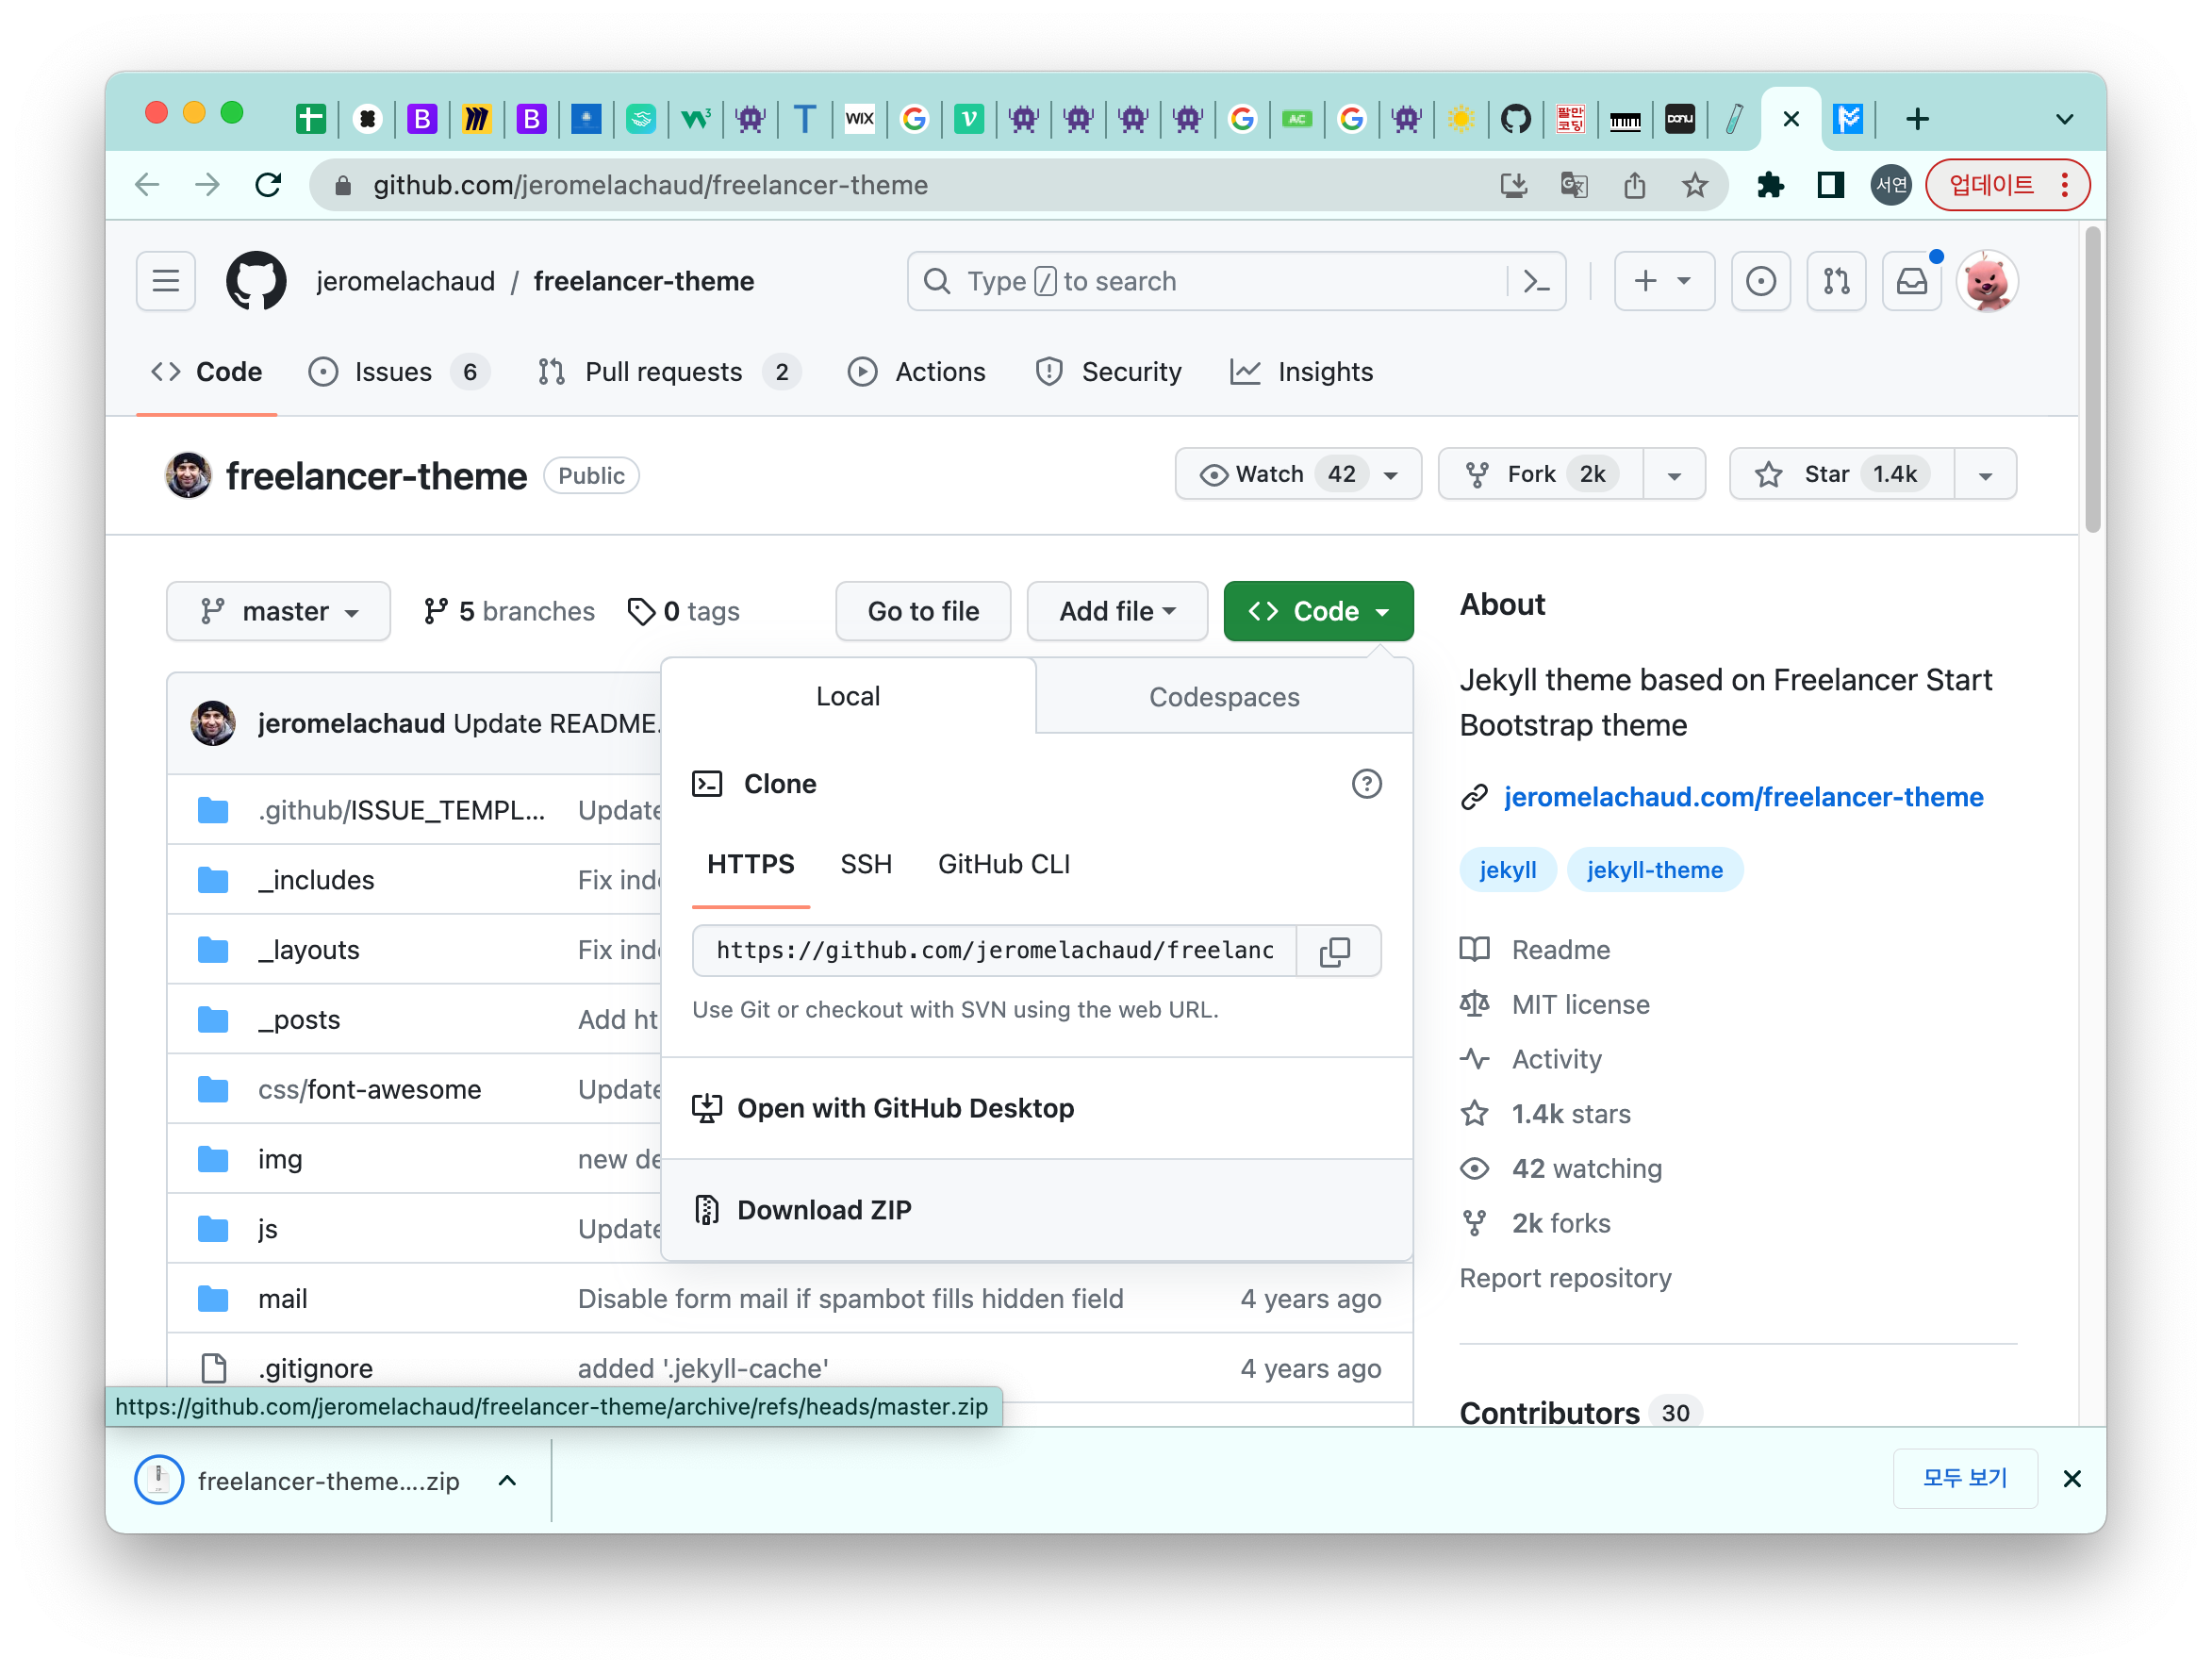
나는 이 테마를 적용했다.
https://jekyllthemes.io/theme/freelancer-theme
Freelancer – Flat design landing page + portfolio – Jekyll Themes
Jekyll theme based on Freelancer Start Bootstrap theme.
jekyllthemes.io
원하는 테마에서 Code - Download ZIP 을 선택한다.
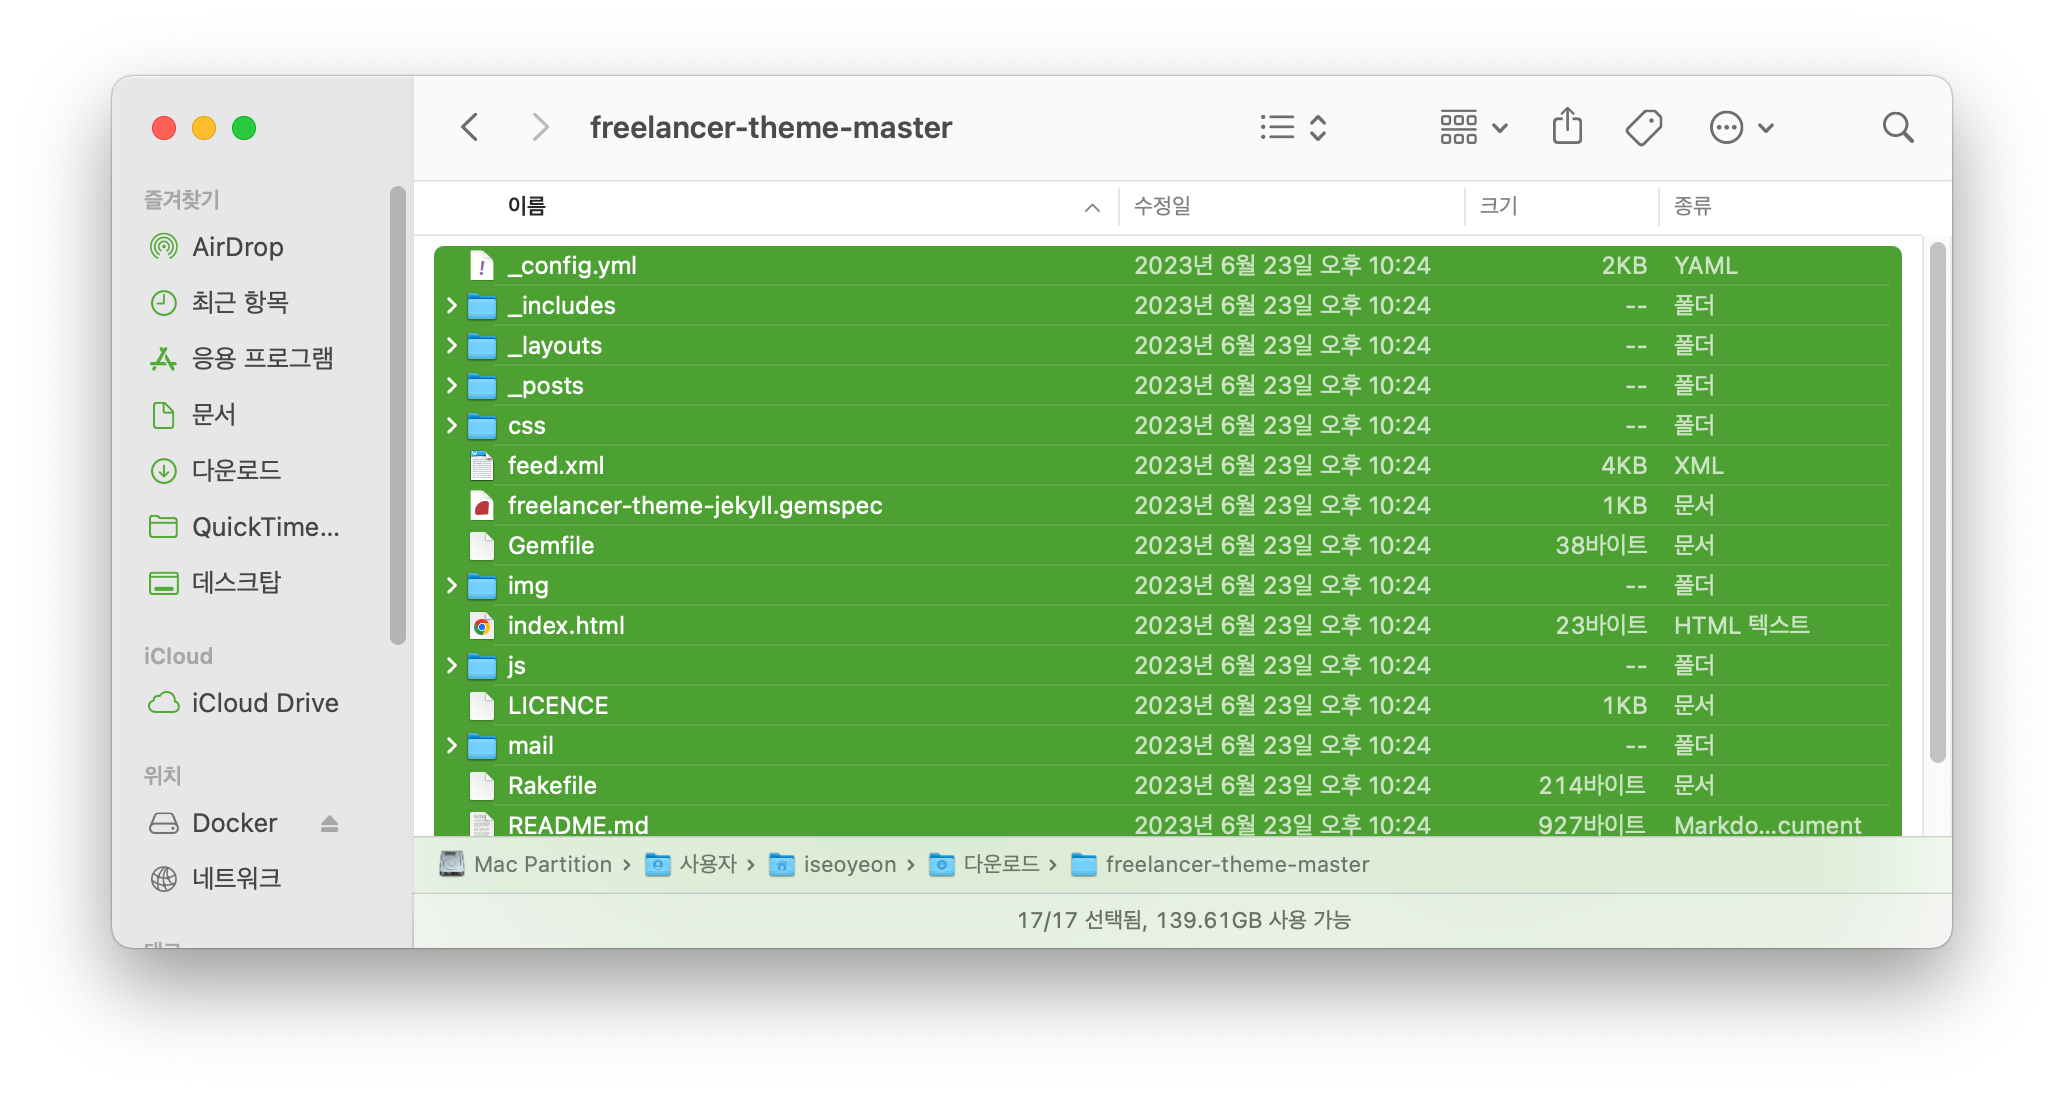
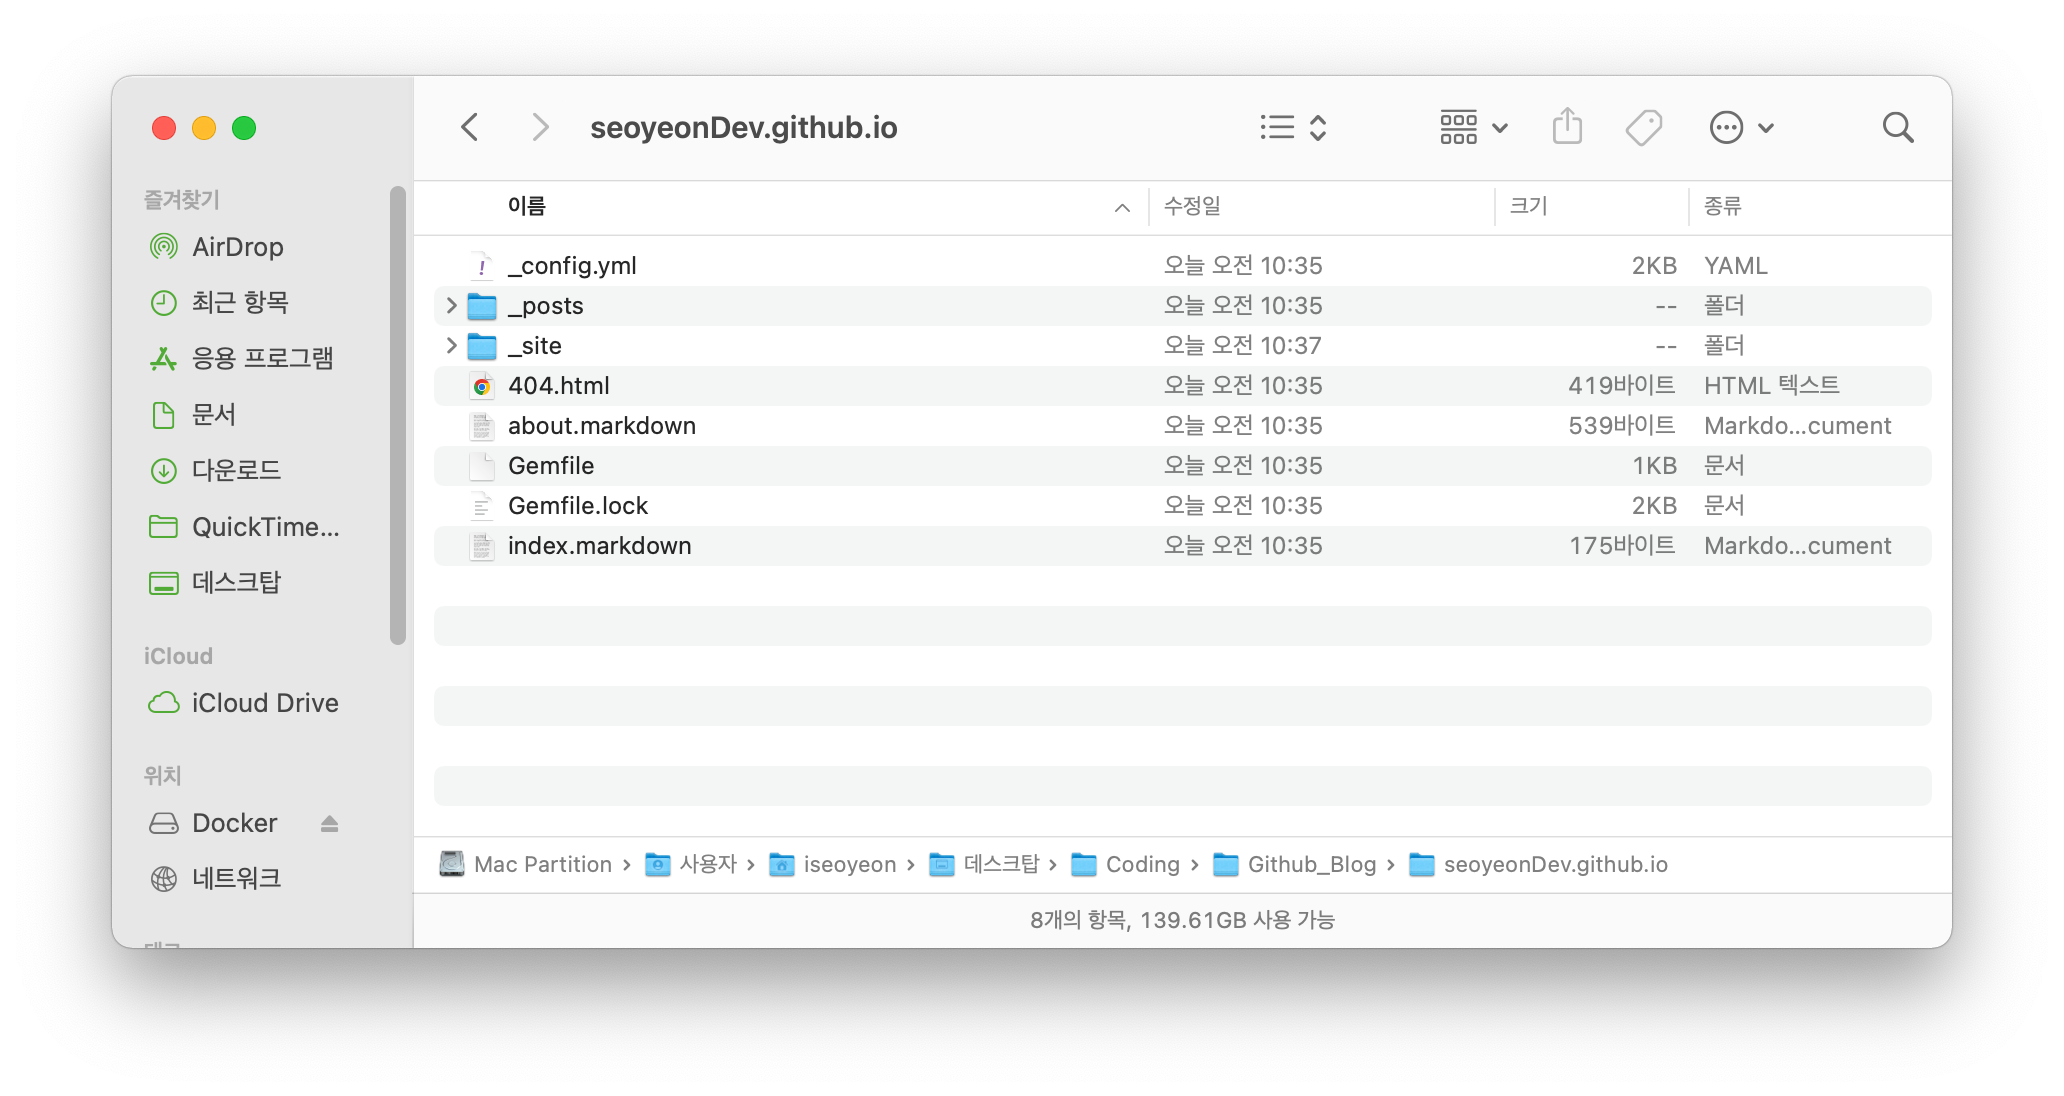
파일을 전부 복사해 github.io 폴더에 붙여넣는다.
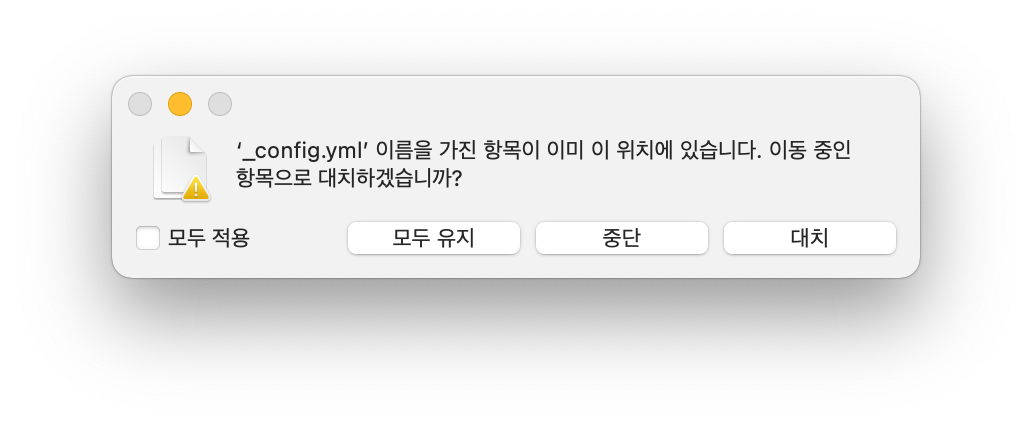
중복되는 파일이 있어 이런 문구가 나오는데, 나는 대치를 선택해줬다.
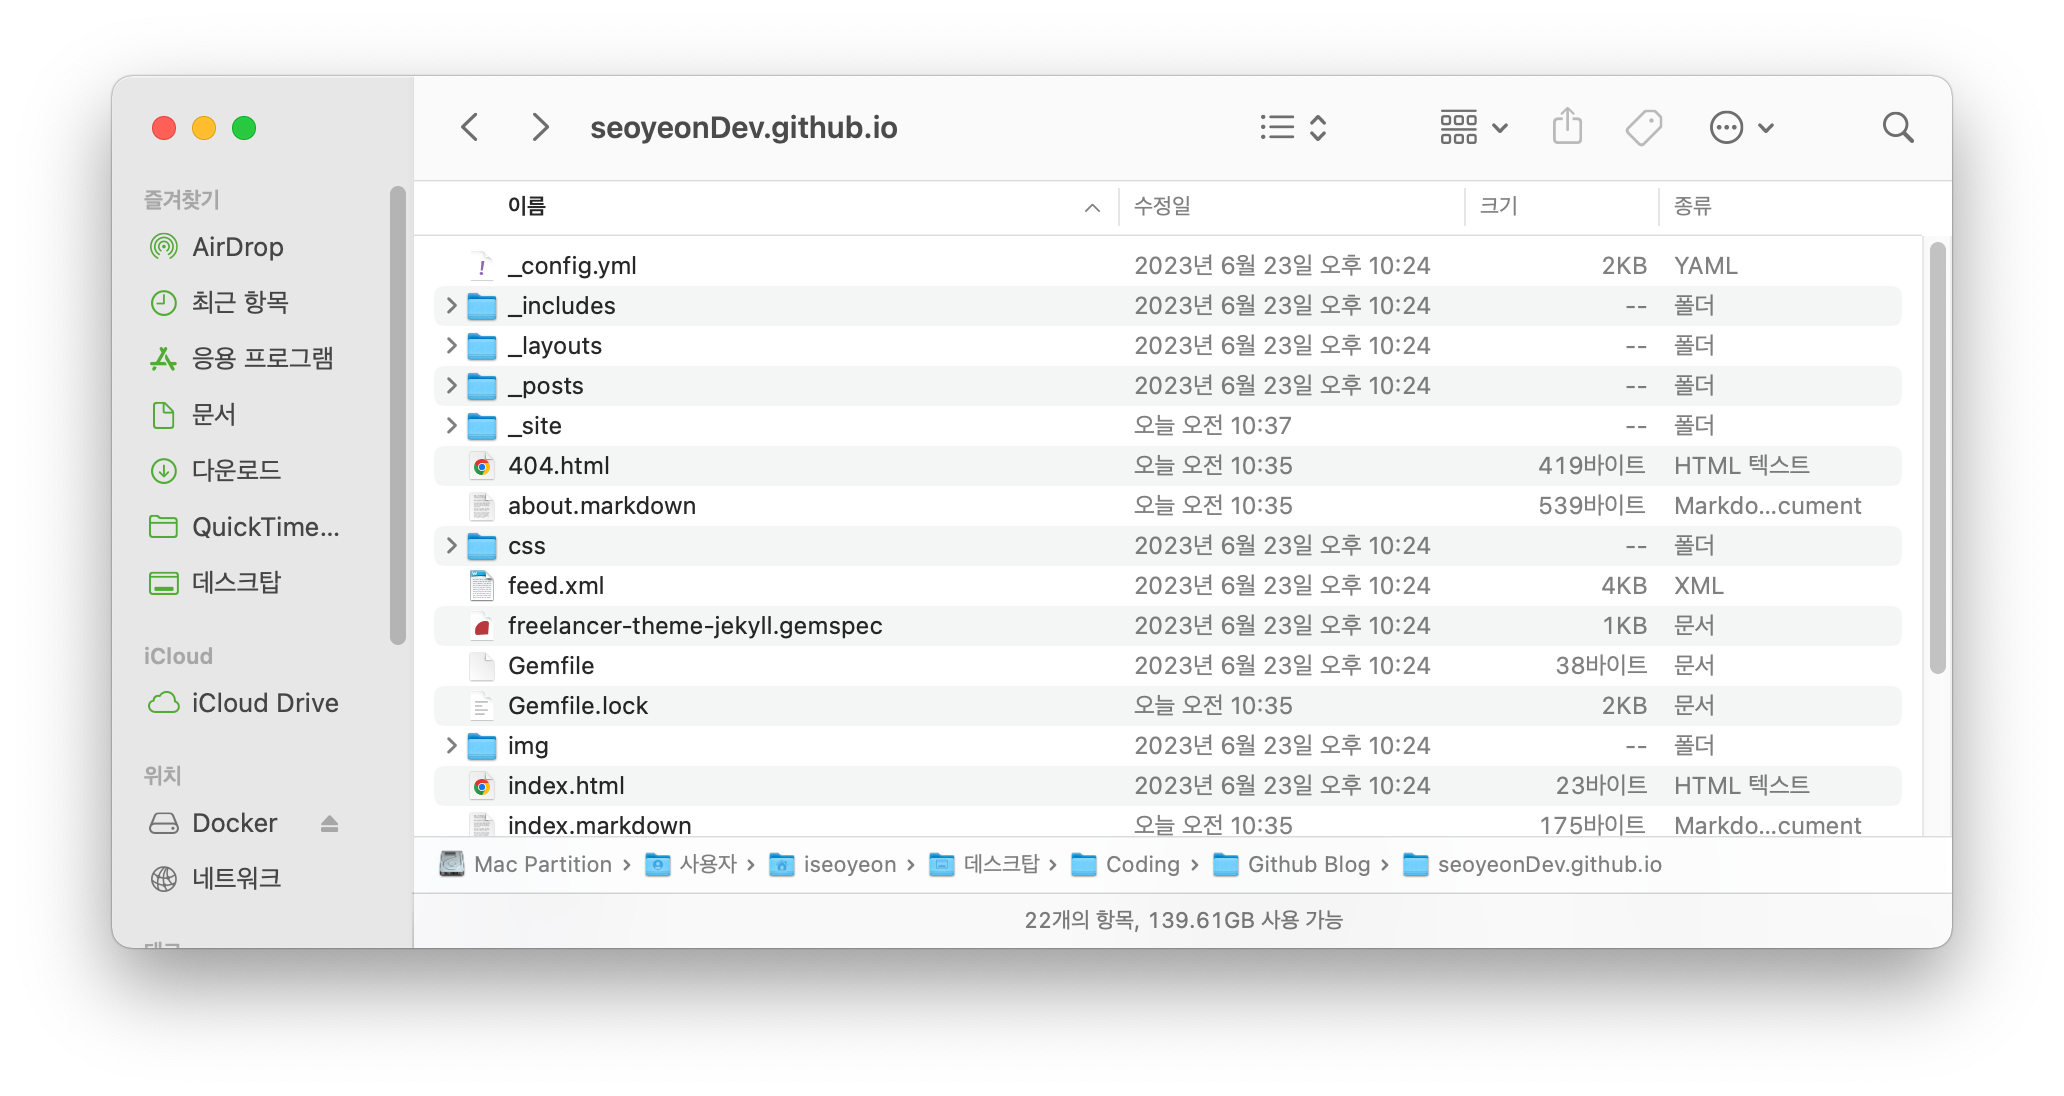
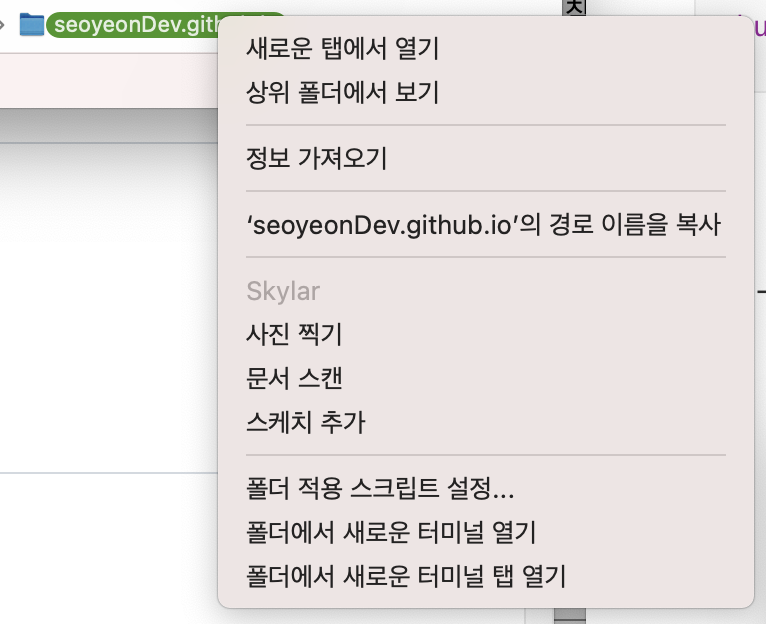
전부 옮겨주었으면 폴더에서 우클릭 - 폴더에서 새로운 터미널 열기를 선택하여 해당 폴더에서 터미널을 실행해준다.
그리고 터미널에서 아래 코드를 하나씩 실행해준다.
bundle install
bundle exec jekyll serve
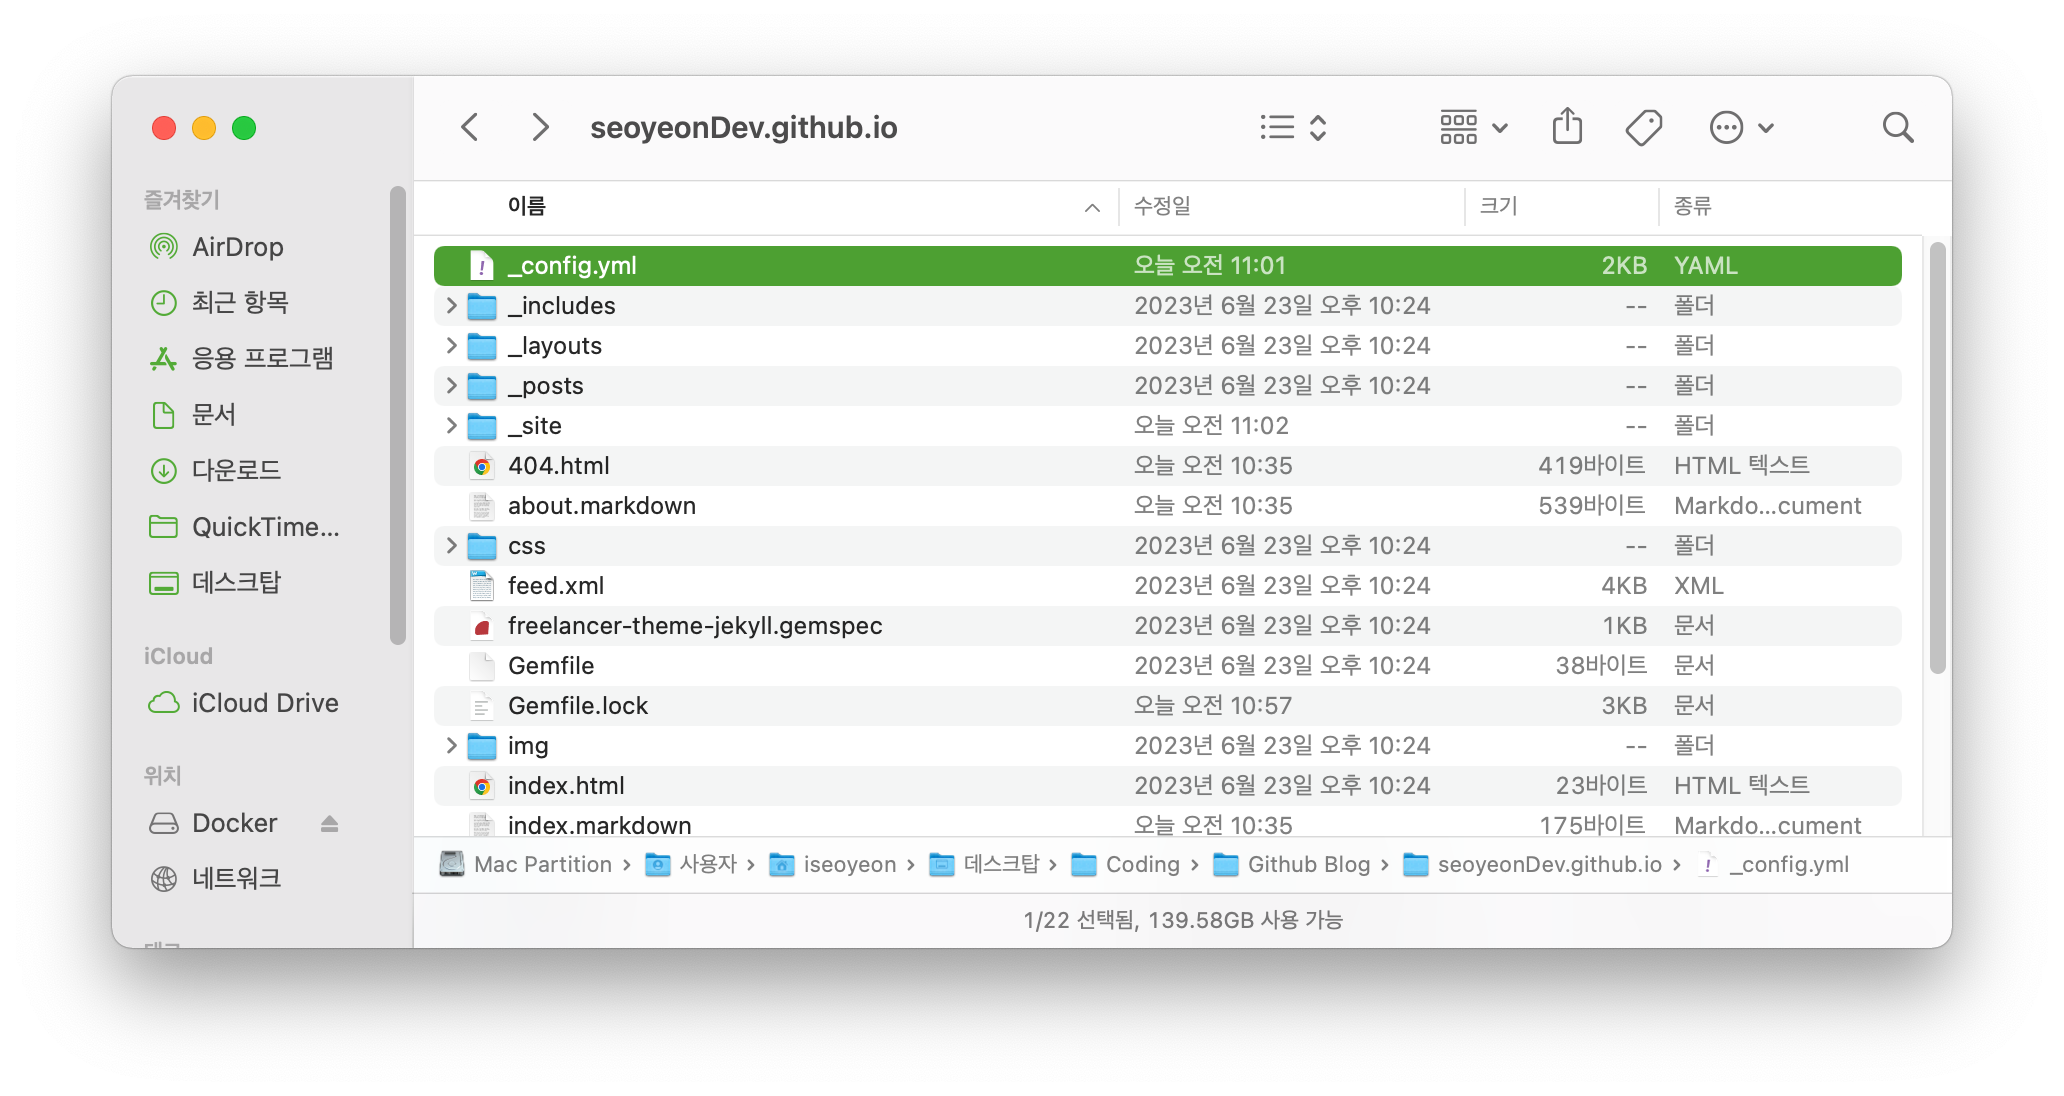
나는 _config.yml 에서 간단하게 내 정보를 수정해주고 올렸다. 이번에는 ctrl + c 로 jekyll 서버를 끄고 올려줌 !
그럼 이렇게 변경된다. 그리고 이제 꾸미면 끝 ~~ 꾸미는 방법은 readme 파일을 참고하면 된다.

Lee Seoyeon
Project 6 Use this area of the page to describe your project. Lorem ipsum dolor sit amet, consectetur adipisicing elit. Mollitia neque assumenda ipsam nihil, molestias magnam, recusandae quos quis inventore quisquam velit asperiores, vitae? Reprehenderit s
seoyeondev.github.io